3 Easy Steps to Save Time Adding Doors and Windows
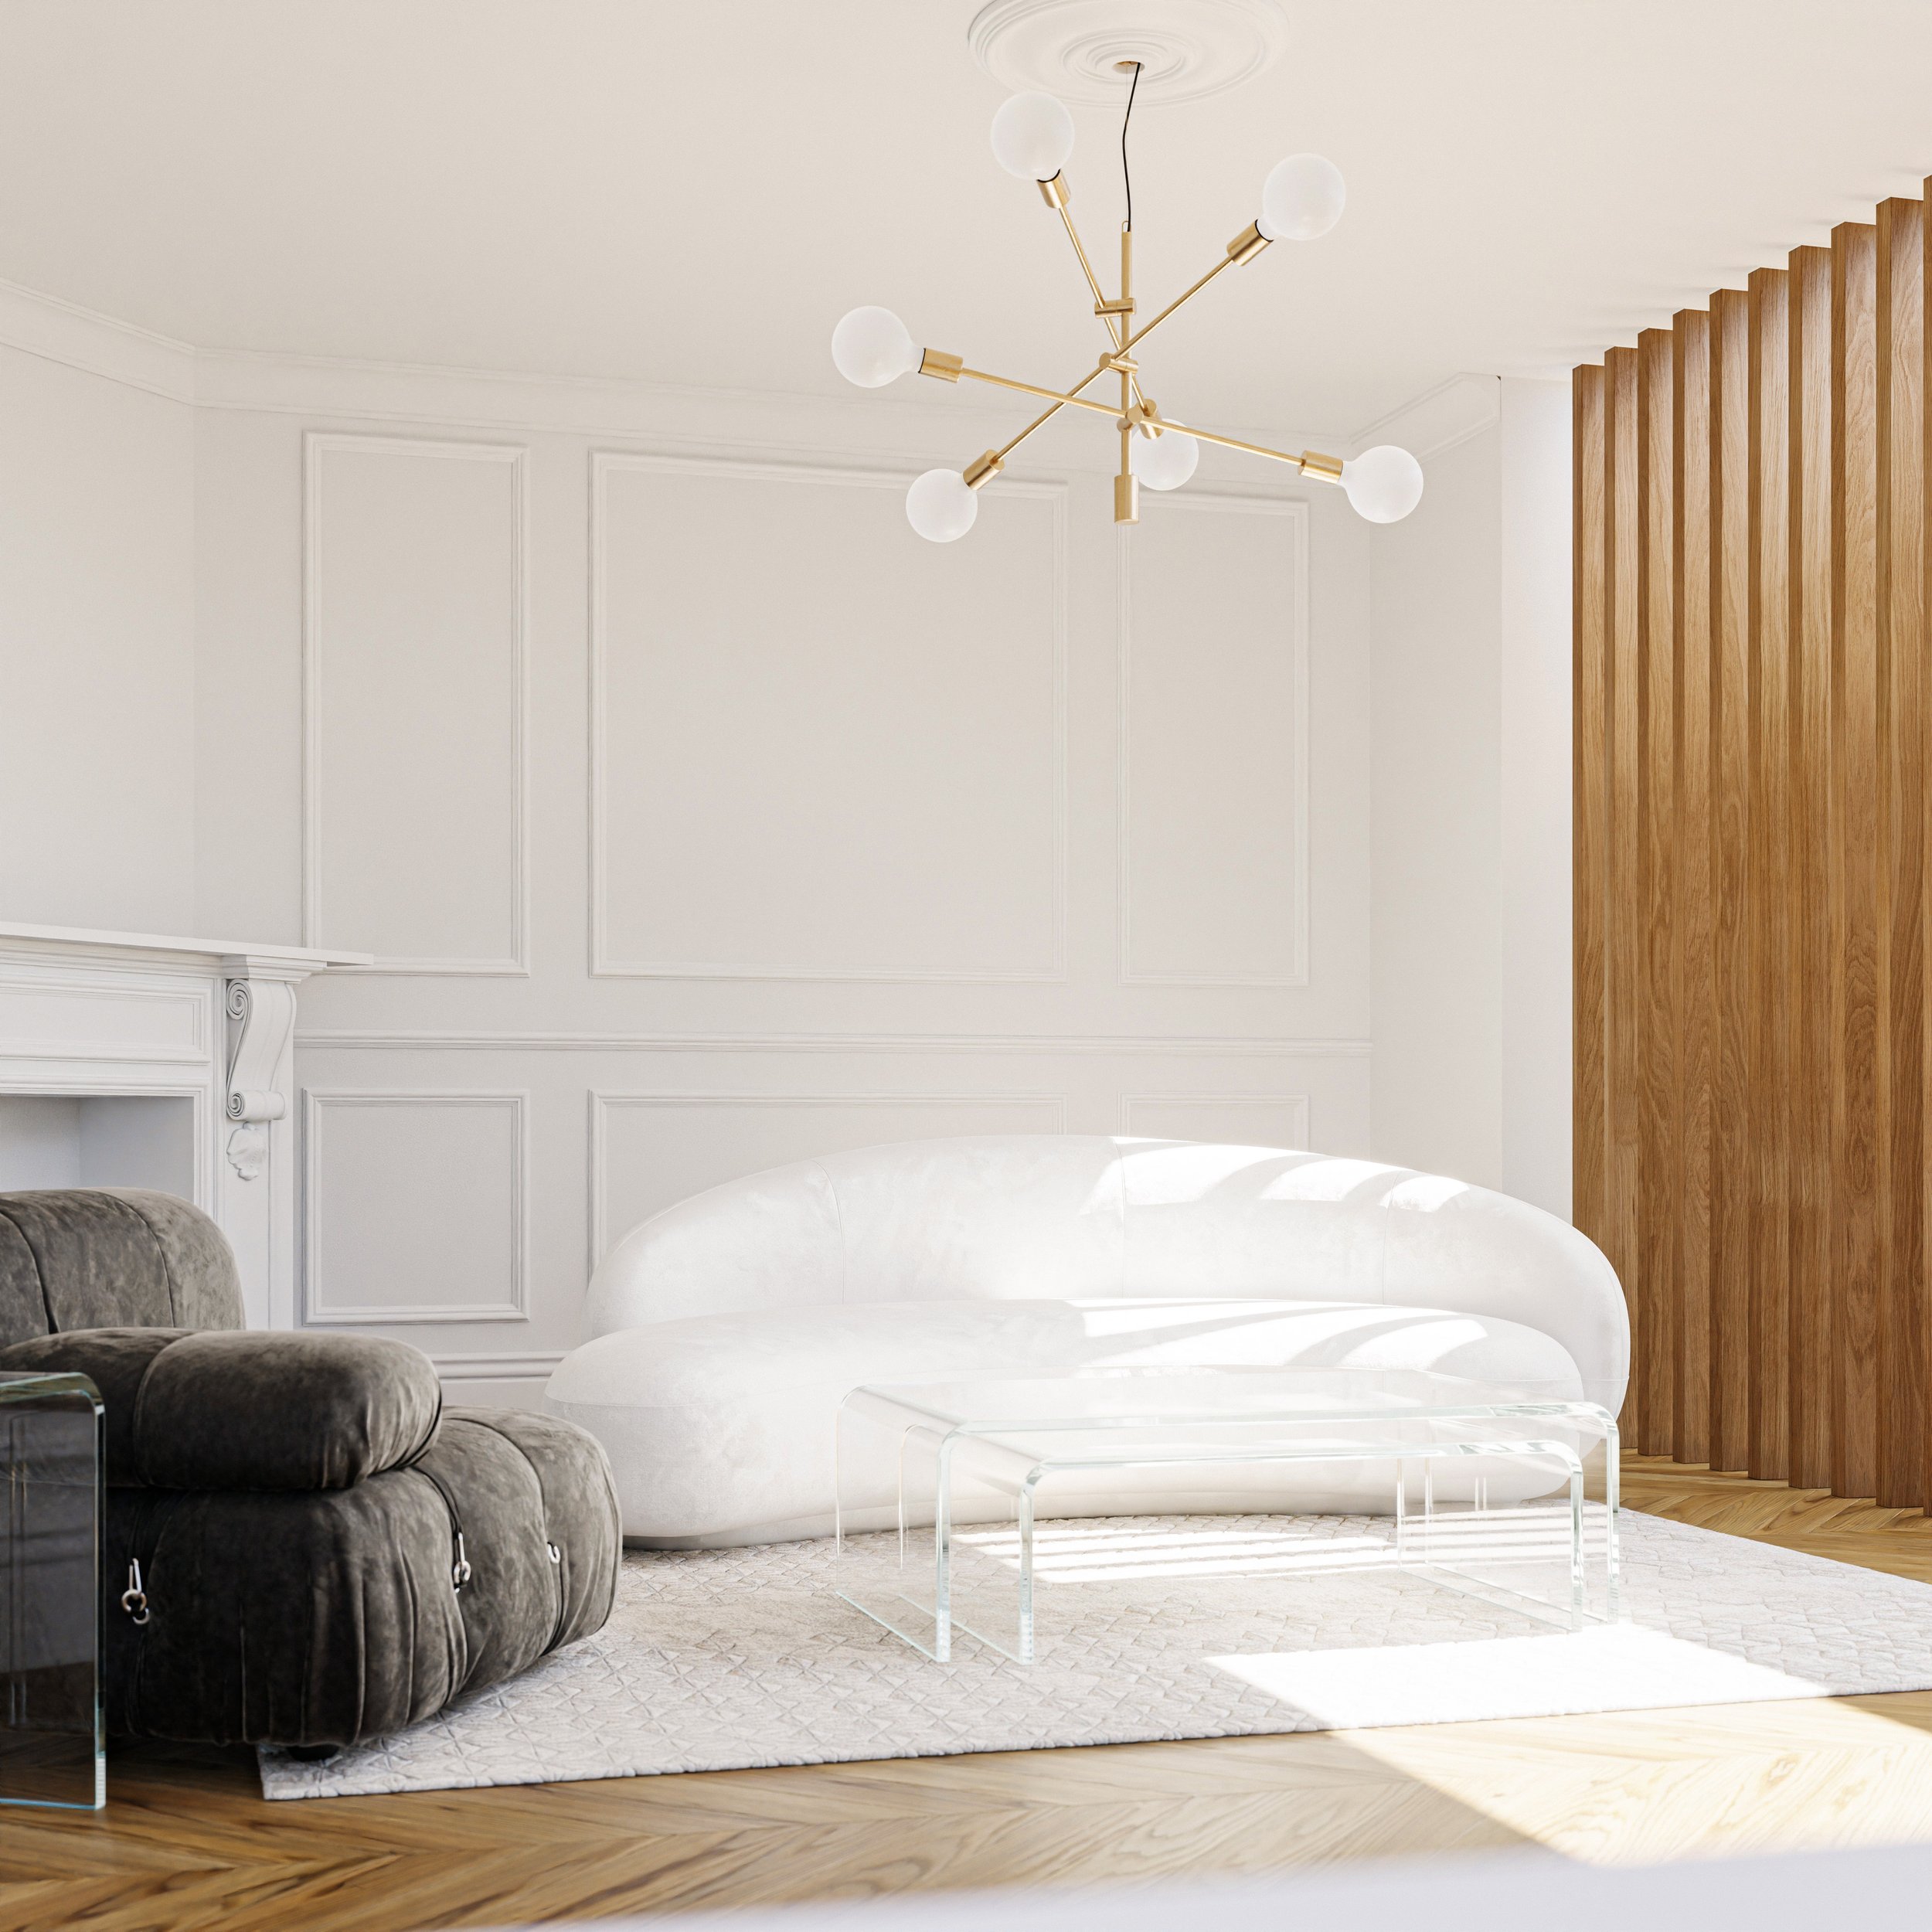
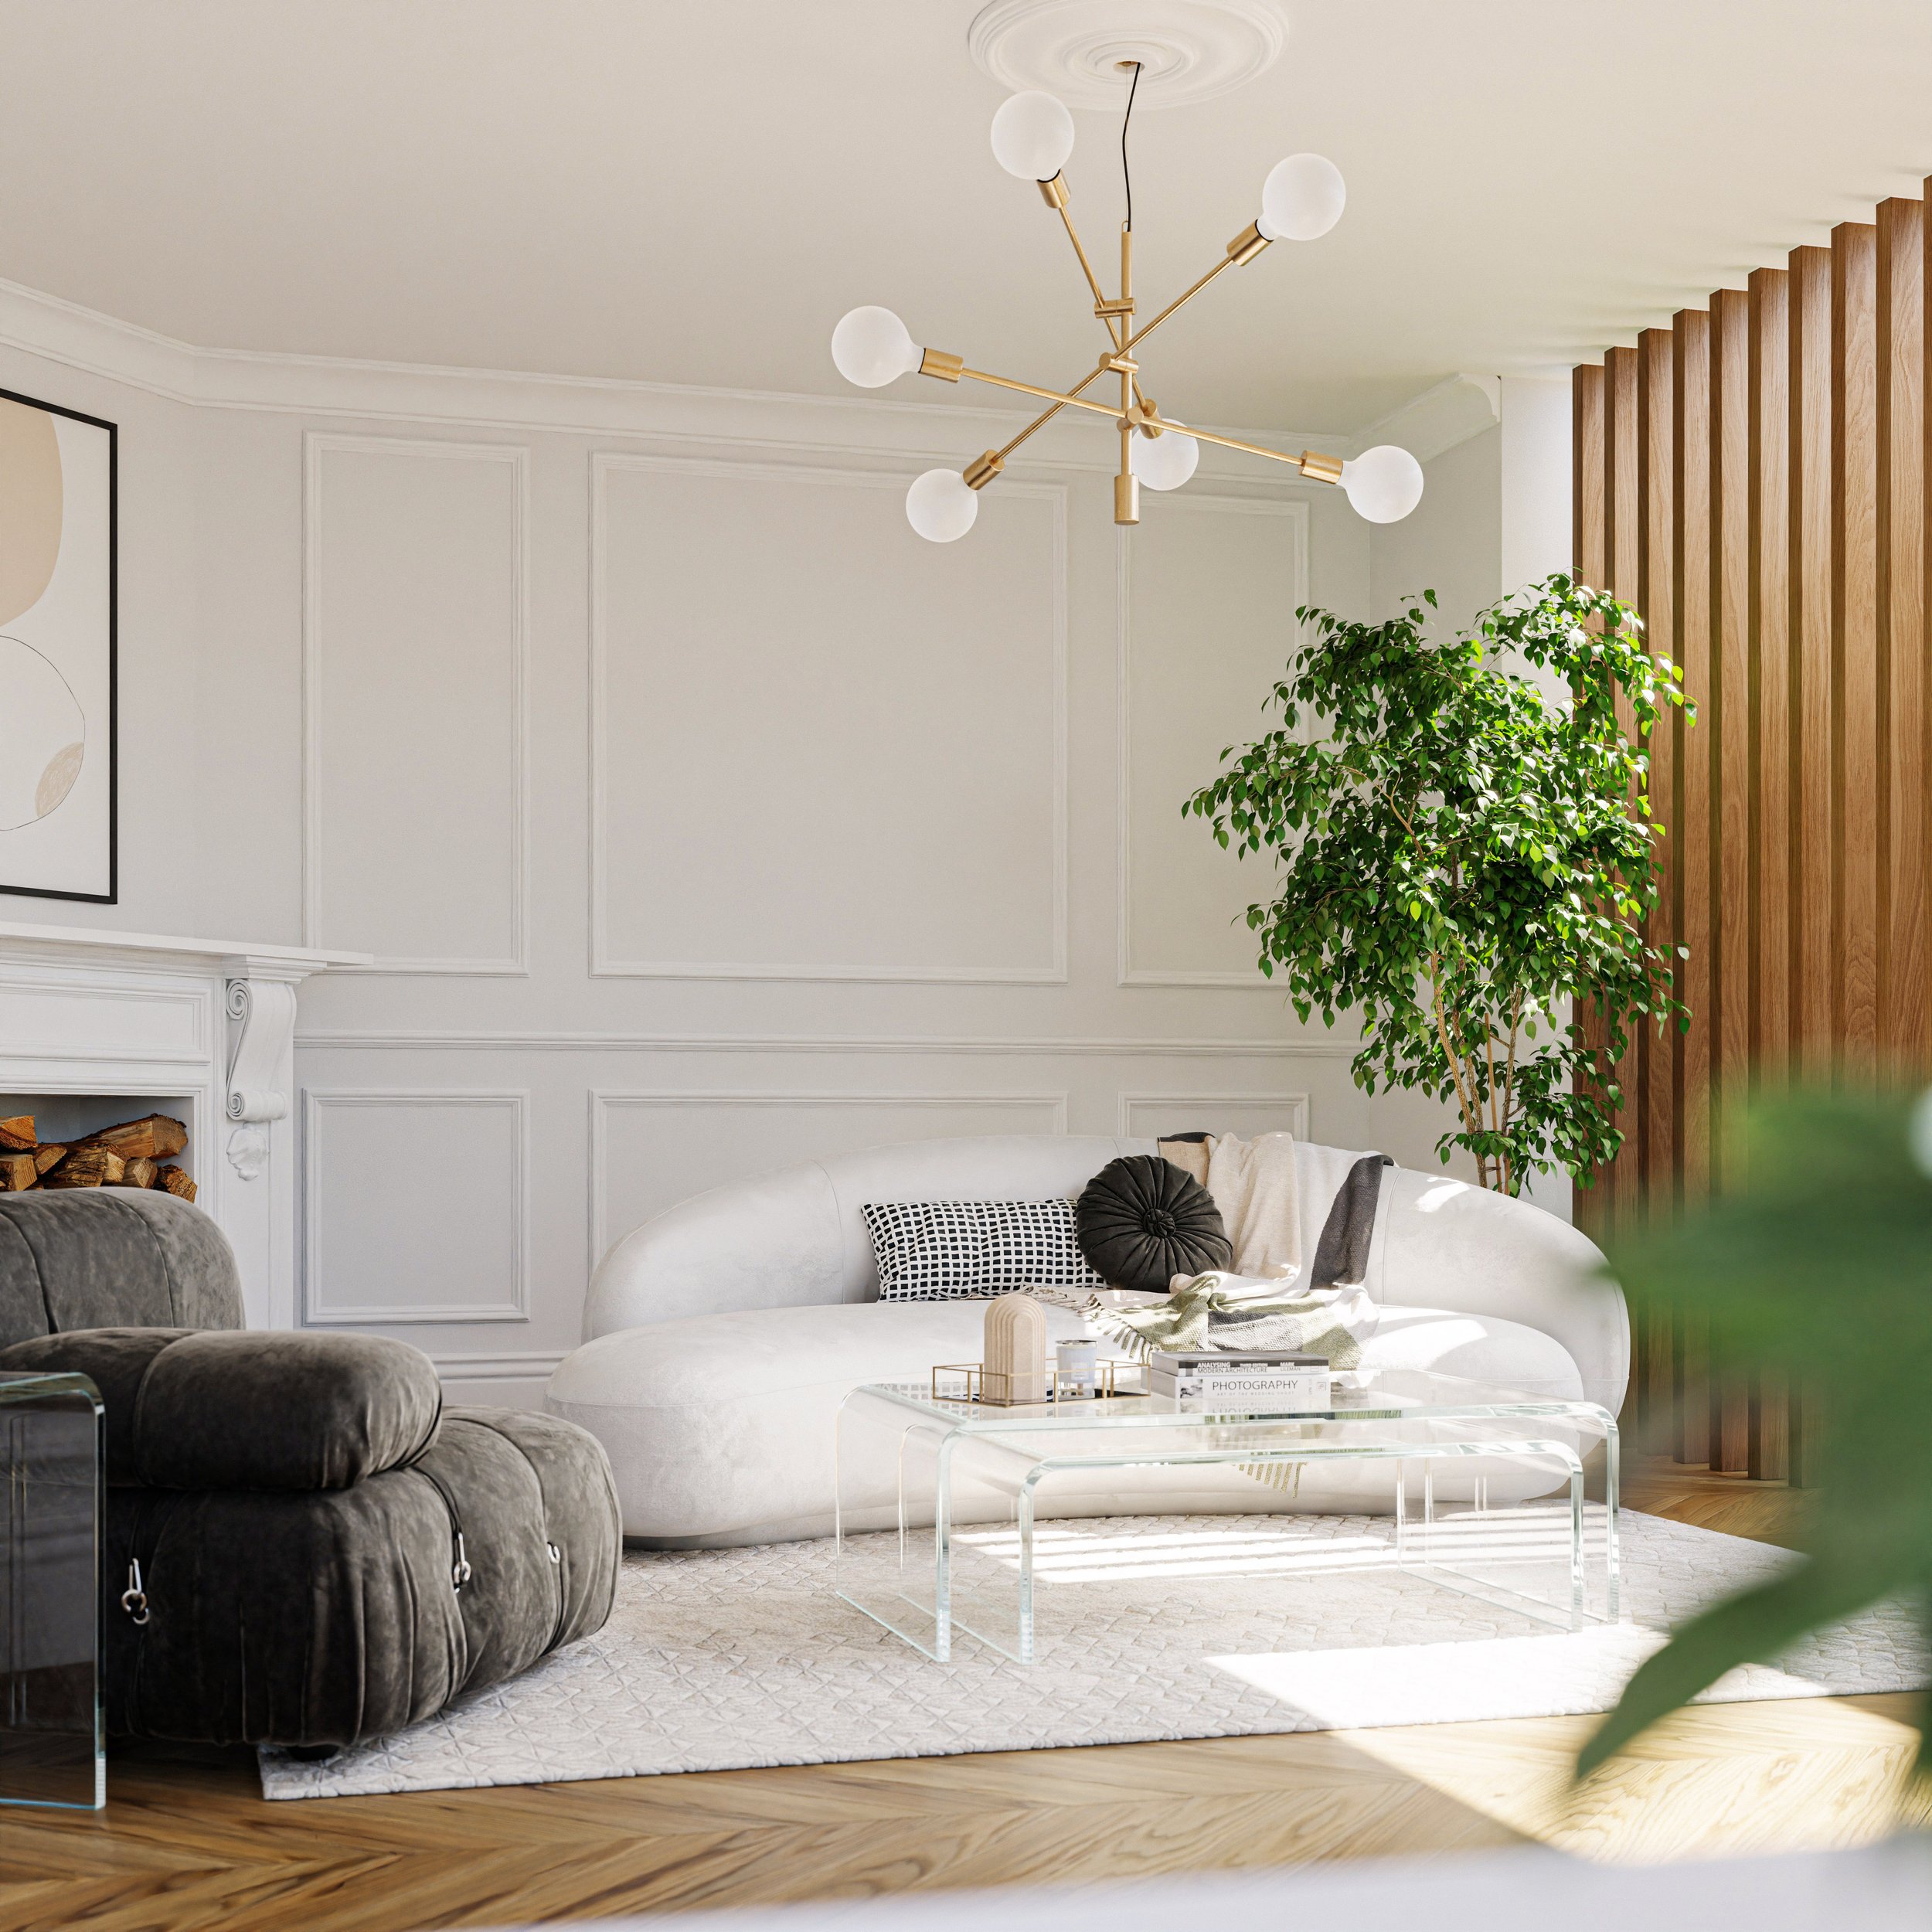
Regardless of the style of archviz, chances are you’re going to need doors and windows in your scene. Manually cutting out the required shapes in your walls is a tedious process which only gets worse if you choose to move things around later on.
In this article, I’ll show you how to quickly set up a reusable boolean method that will save you time. I’ll be using the example of a door, but a window would be essentially identical.
Step 1 - Prepare the Door
Depending on the door this might not be required, but it’s important to get right.
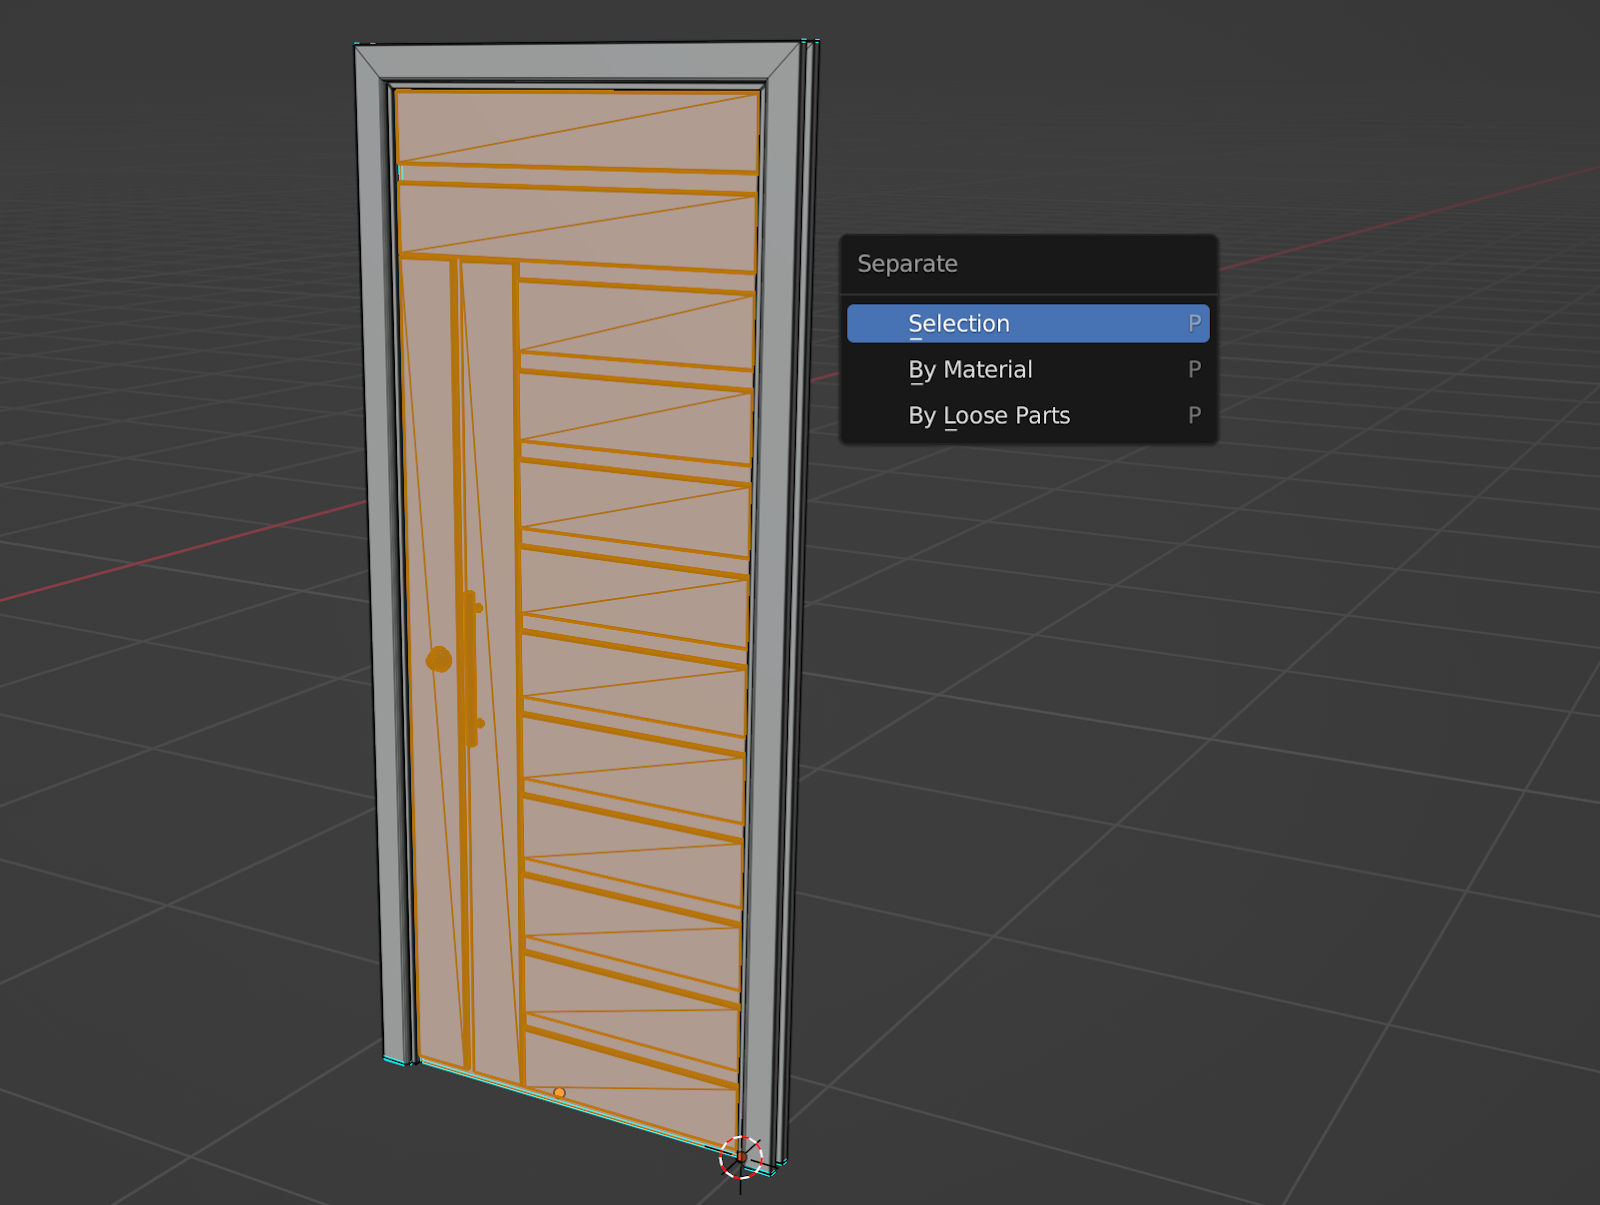
First, separate the door from the frame if it’s all one object. You can do this by tabbing into Edit Mode, highlighting the door and handles, and pressing “P”, then selecting “Separate by Selection”.
Next, you want to make sure the origin point of that new door object is set to where a door would realistically pivot. To do this, tab into Edit Mode on the door object, select a vertice that would work as a good pivot point, and send the 3D cursor to this location.
Then, from Object Mode, you want to set the origin to the 3D cursor. You should now be able to rotate the door around its Z-axis and have it move realistically.
Step 2 - Create the Boolean Object
Next, we need to create a simple bit of geometry that will be used to ‘cut out’ the required shape from the wall we’re going to add the door into.
You can either do this two ways:
Manually, by creating a cube and using the Snap feature to match the size of the door.
Tab into Edit Mode and select the outermost border of the door, Duplicate and Separate by Selection, and then use that as a basis to create your shape.
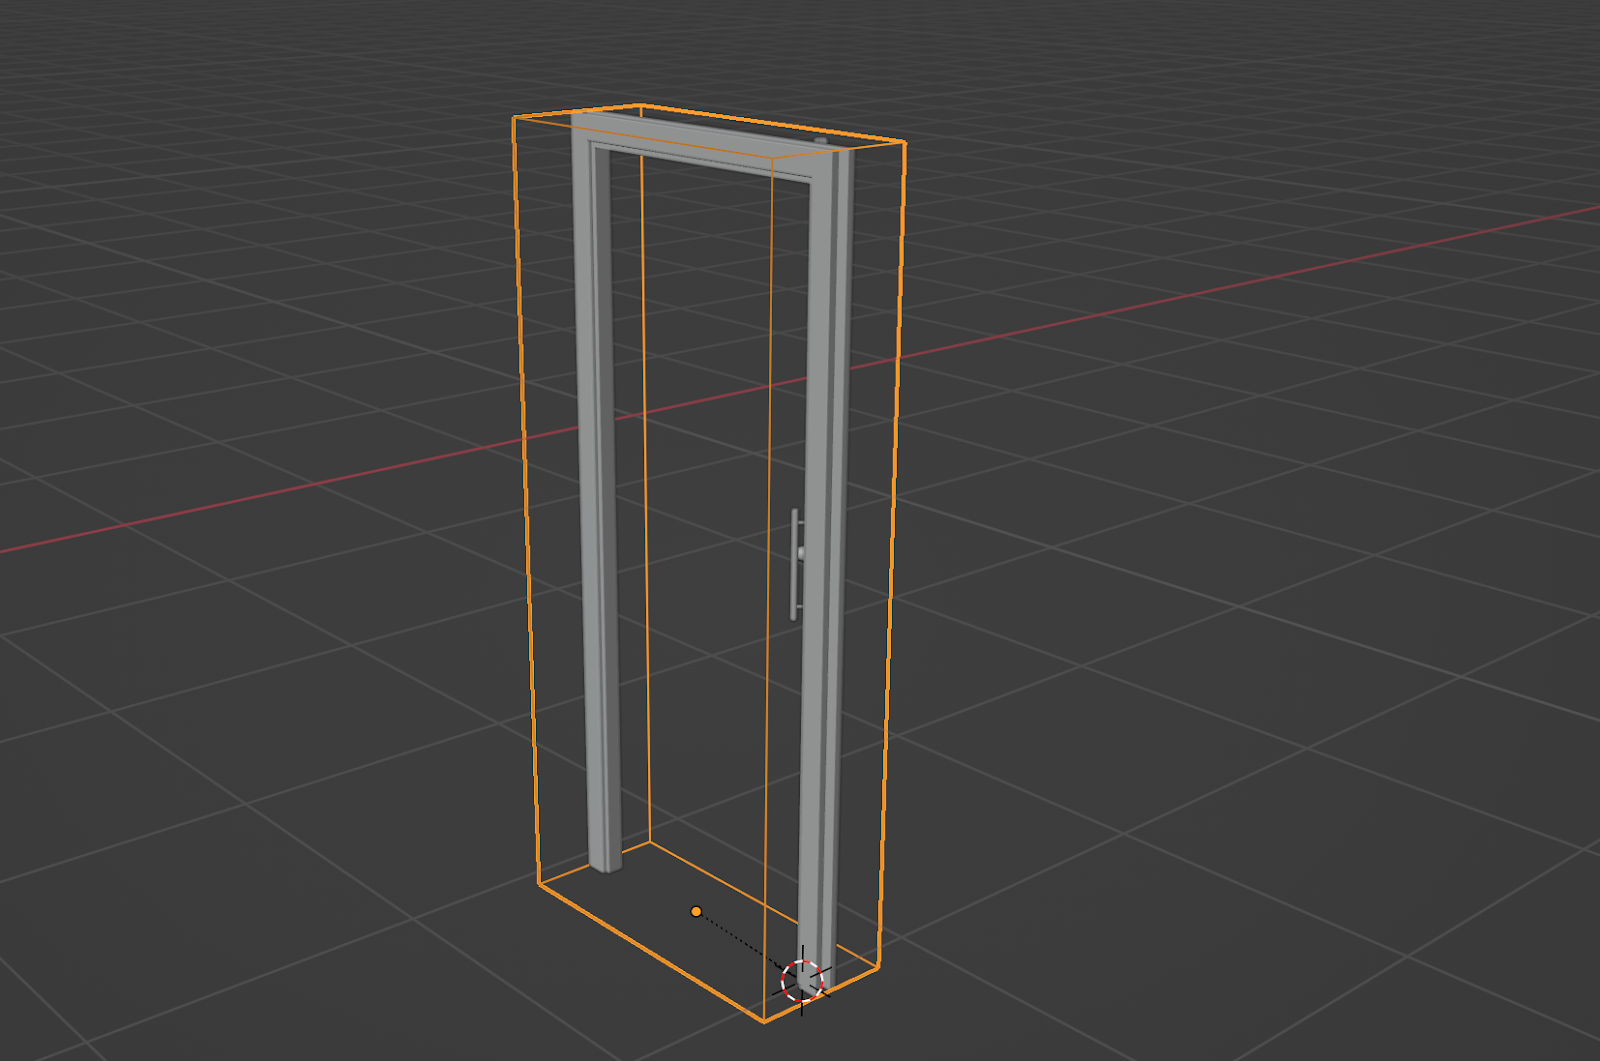
Once that’s done, just head over to the Object Properties, Disable Visibility and limit the viewport display to Wired. Your finished boolean object should look like this:
Here, you also want to create a new collection called “Booleans” and add the boolean object to it.
Finally, parent your boolean object and the door to the frame. This way, you only have to move the door frame and the rest of the objects will follow.
Step 3 - Set Up the Boolean Modifier
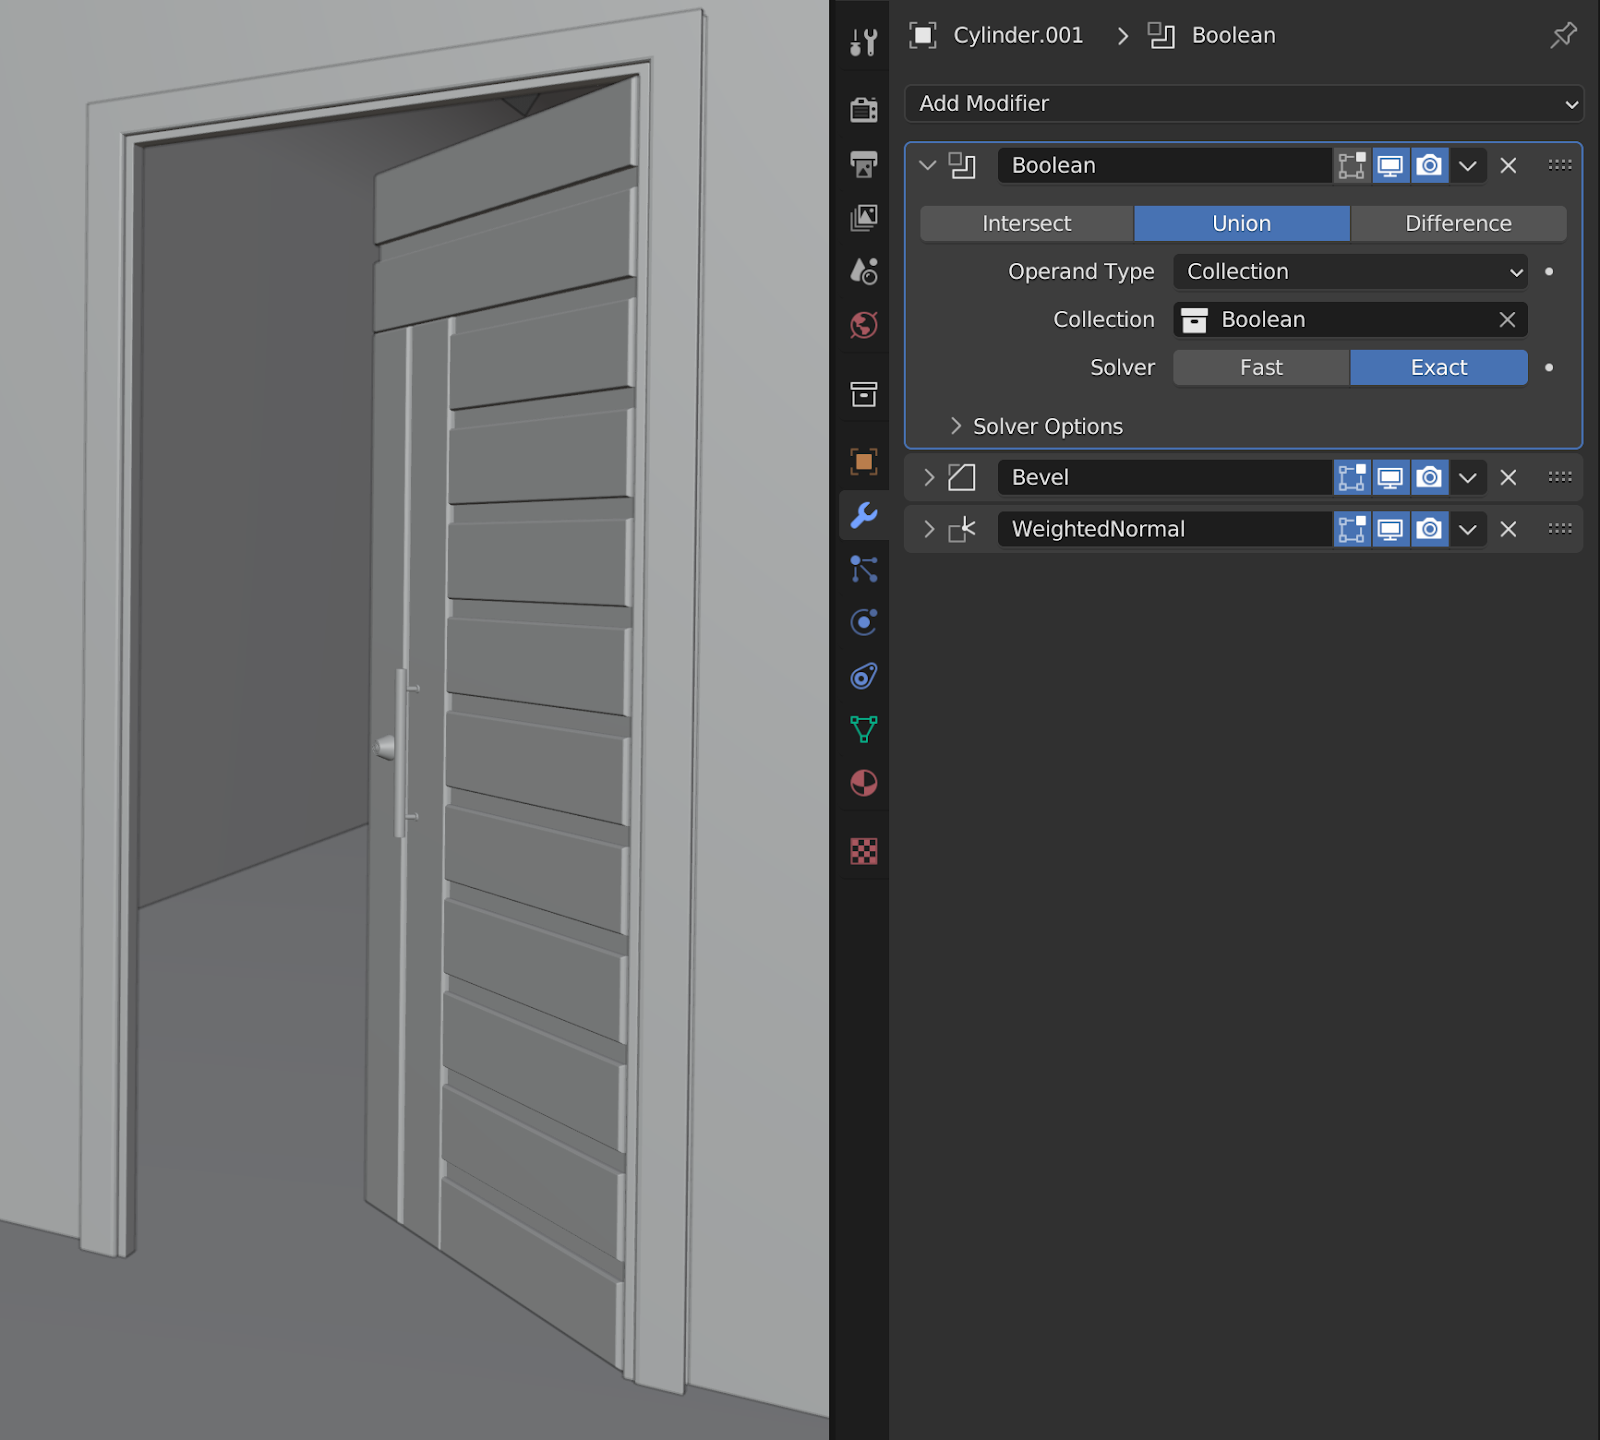
Now for the fun part! Position the door where you want it, select the wall that the door is going to intersect with, go to the Modifier panel, add a new Boolean Modifier, and set it to ‘Collection’ rather than the default ‘Object’.
Set the boolean type to ‘Union’, and then select the boolean collection you just created.
…that’s it!
Because we’ve used a collection rather than an object, you won’t need a new modifier if you duplicate the door. Just Duplicate the whole thing - door, frame and boolean object - and Reposition, and it’ll cut out the wall area without any additional steps.
You can even save these pre-setup doors and windows into your library, so next time you can just append them in, set up the Modifier on the walls, and you’re good to go!


